Build a new image
There are three ways you can build new images.
When building an image with Portainer, you are unable to use ADD or COPY commands referencing files on the host. We recommend using wget or similar to retrieve files from a HTTP/S URL instead.
Method 1: Using the Portainer web editor
From the menu select Images then click Build a new image.

Next, give the image a descriptive name (you can enter multiple names), select the Web editor option under Build method, then write your Dockerfile in the web editor.
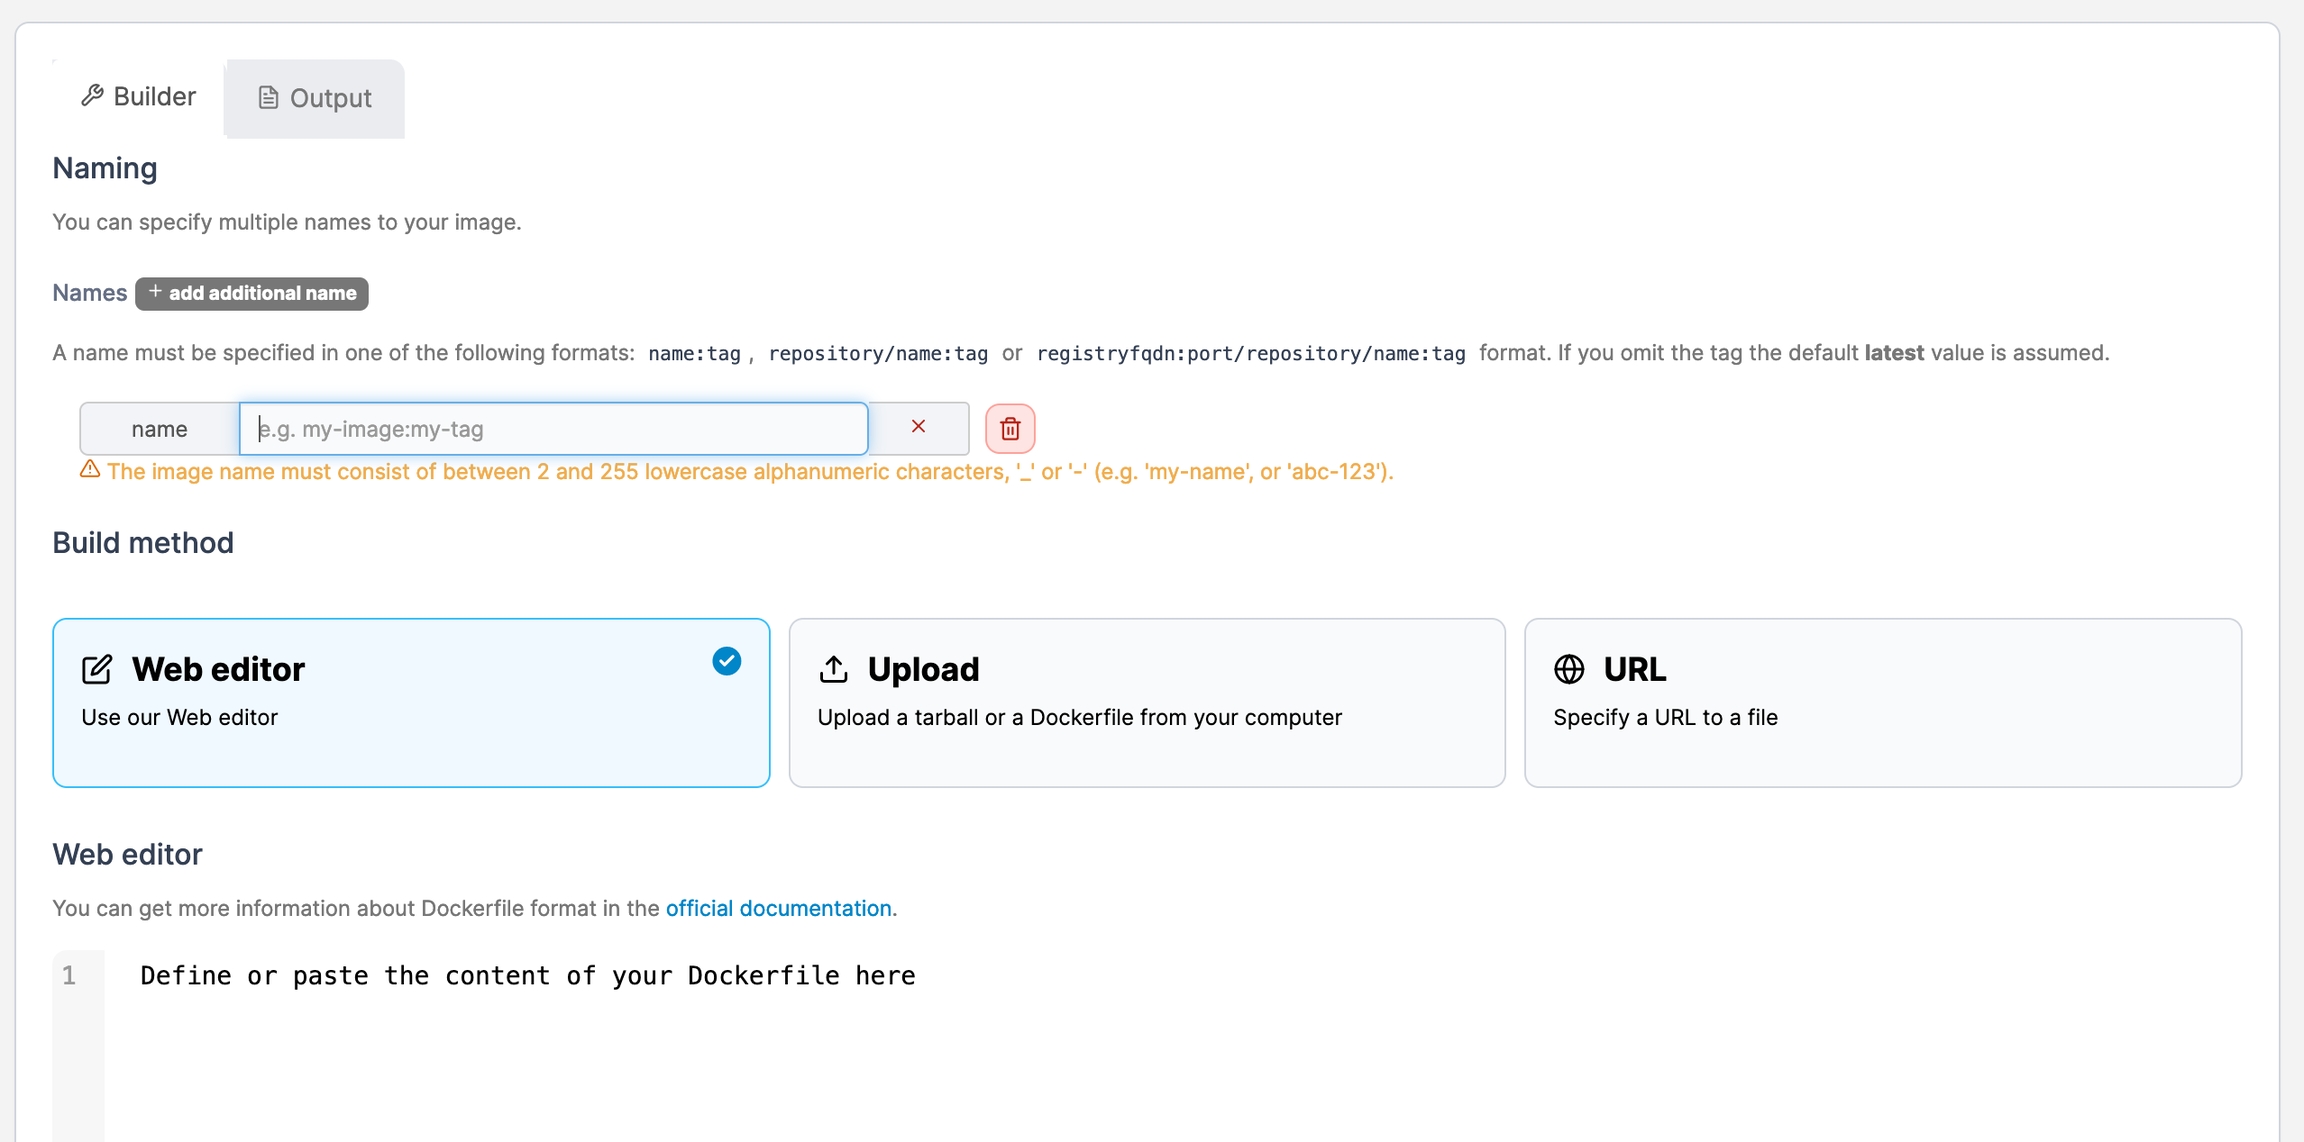
Optionally, you can upload one or more local files to be included in an image by clicking Select files and selecting the files to include. You can then reference them in your Dockerfile.

Select the node you want to save the image on (if on a multi-node environment) then click Build the image.

When the build is finished, select the Output tab to view the build history and the result.
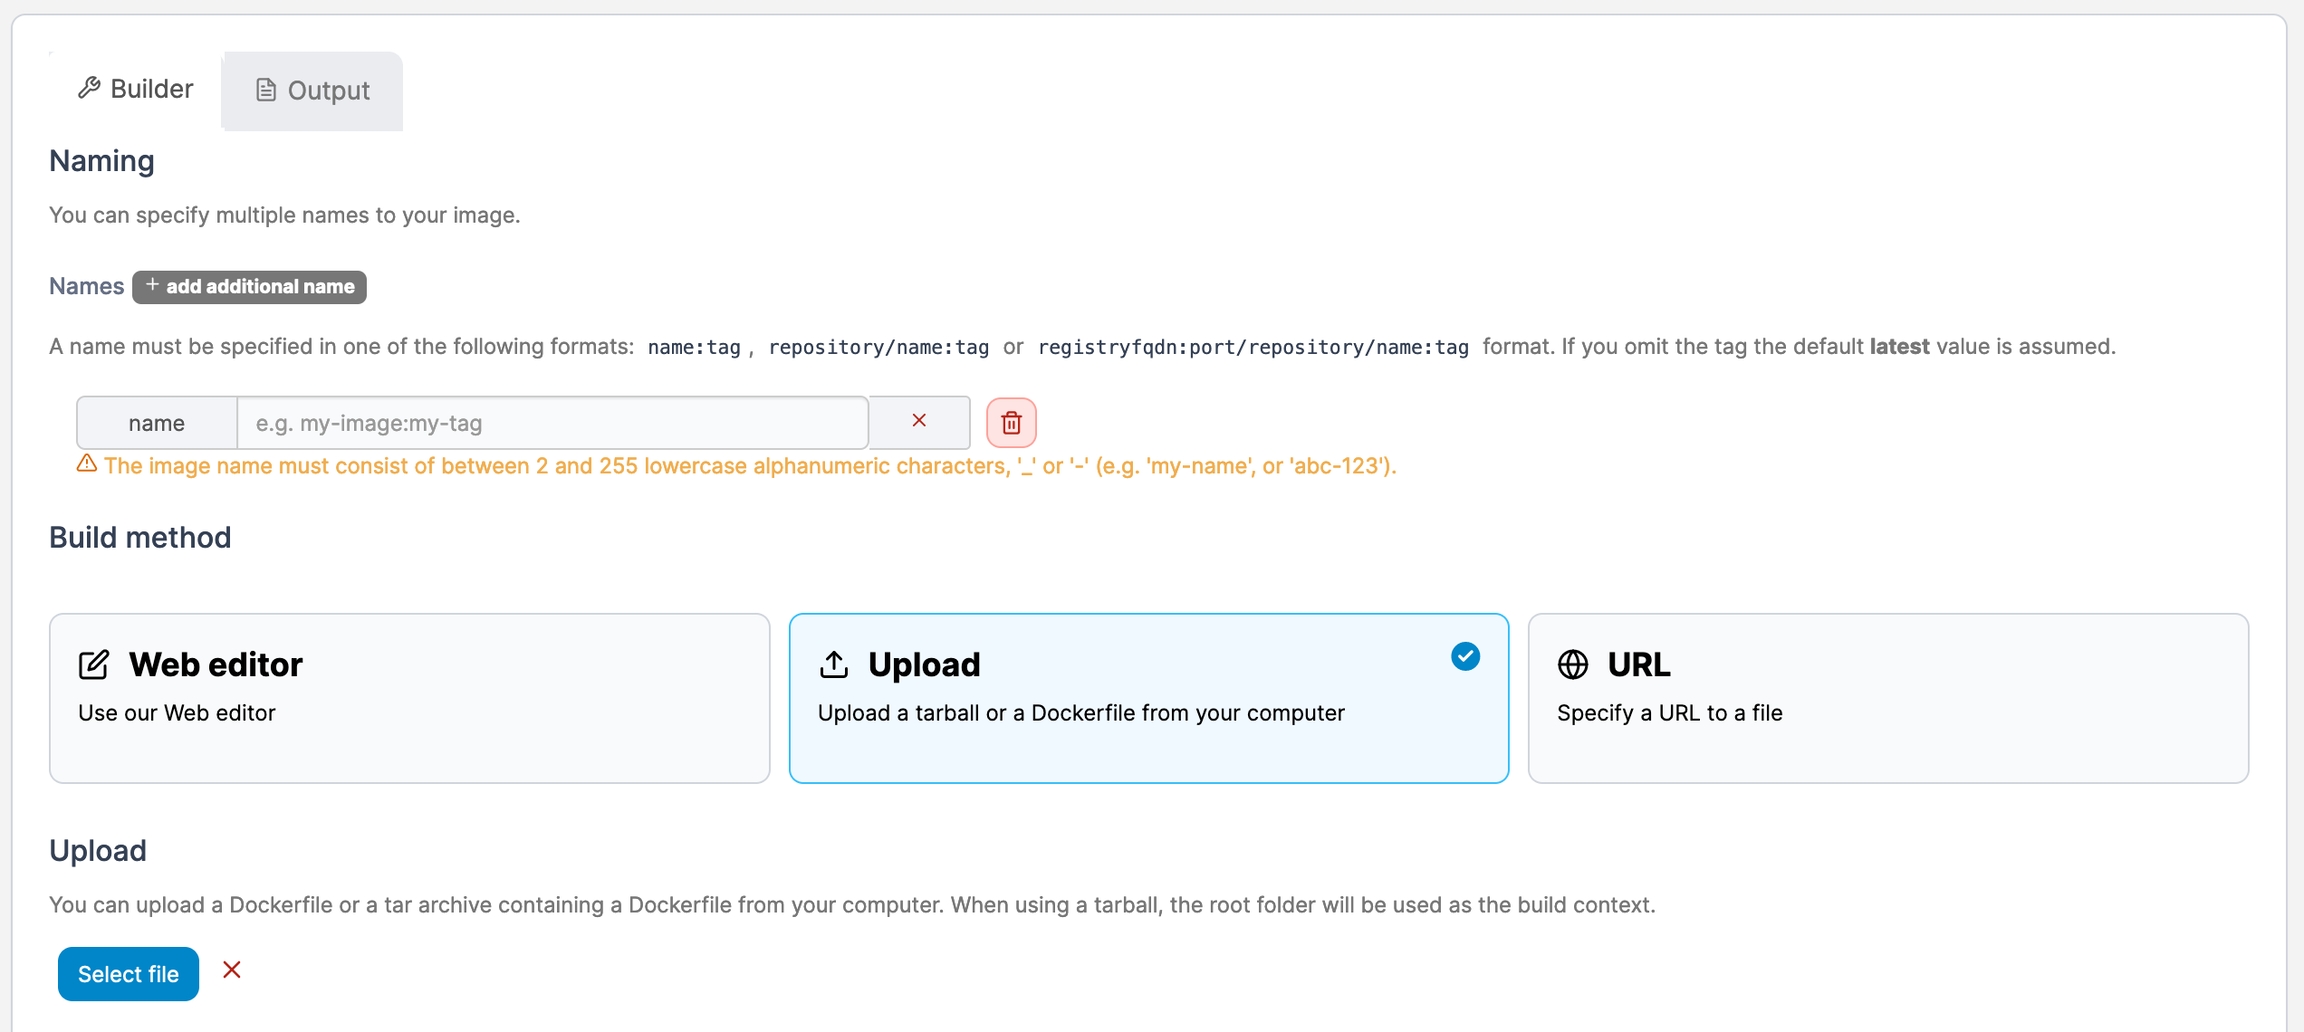
Method 2: Uploading a Dockerfile
If you have an existing Dockerfile, you can upload it to Portainer and use it to build the image.
From the menu select Images then click Build a new image.

Next, give the image a descriptive name (you can enter multiple names), select the Upload option under Build method, then browse to and upload the Dockerfile.
Scroll down and select the node you want to save the image on (if on a multi-node environment) then click Build the image.
When the build is finished, select the Output tab to view the build history and the result.
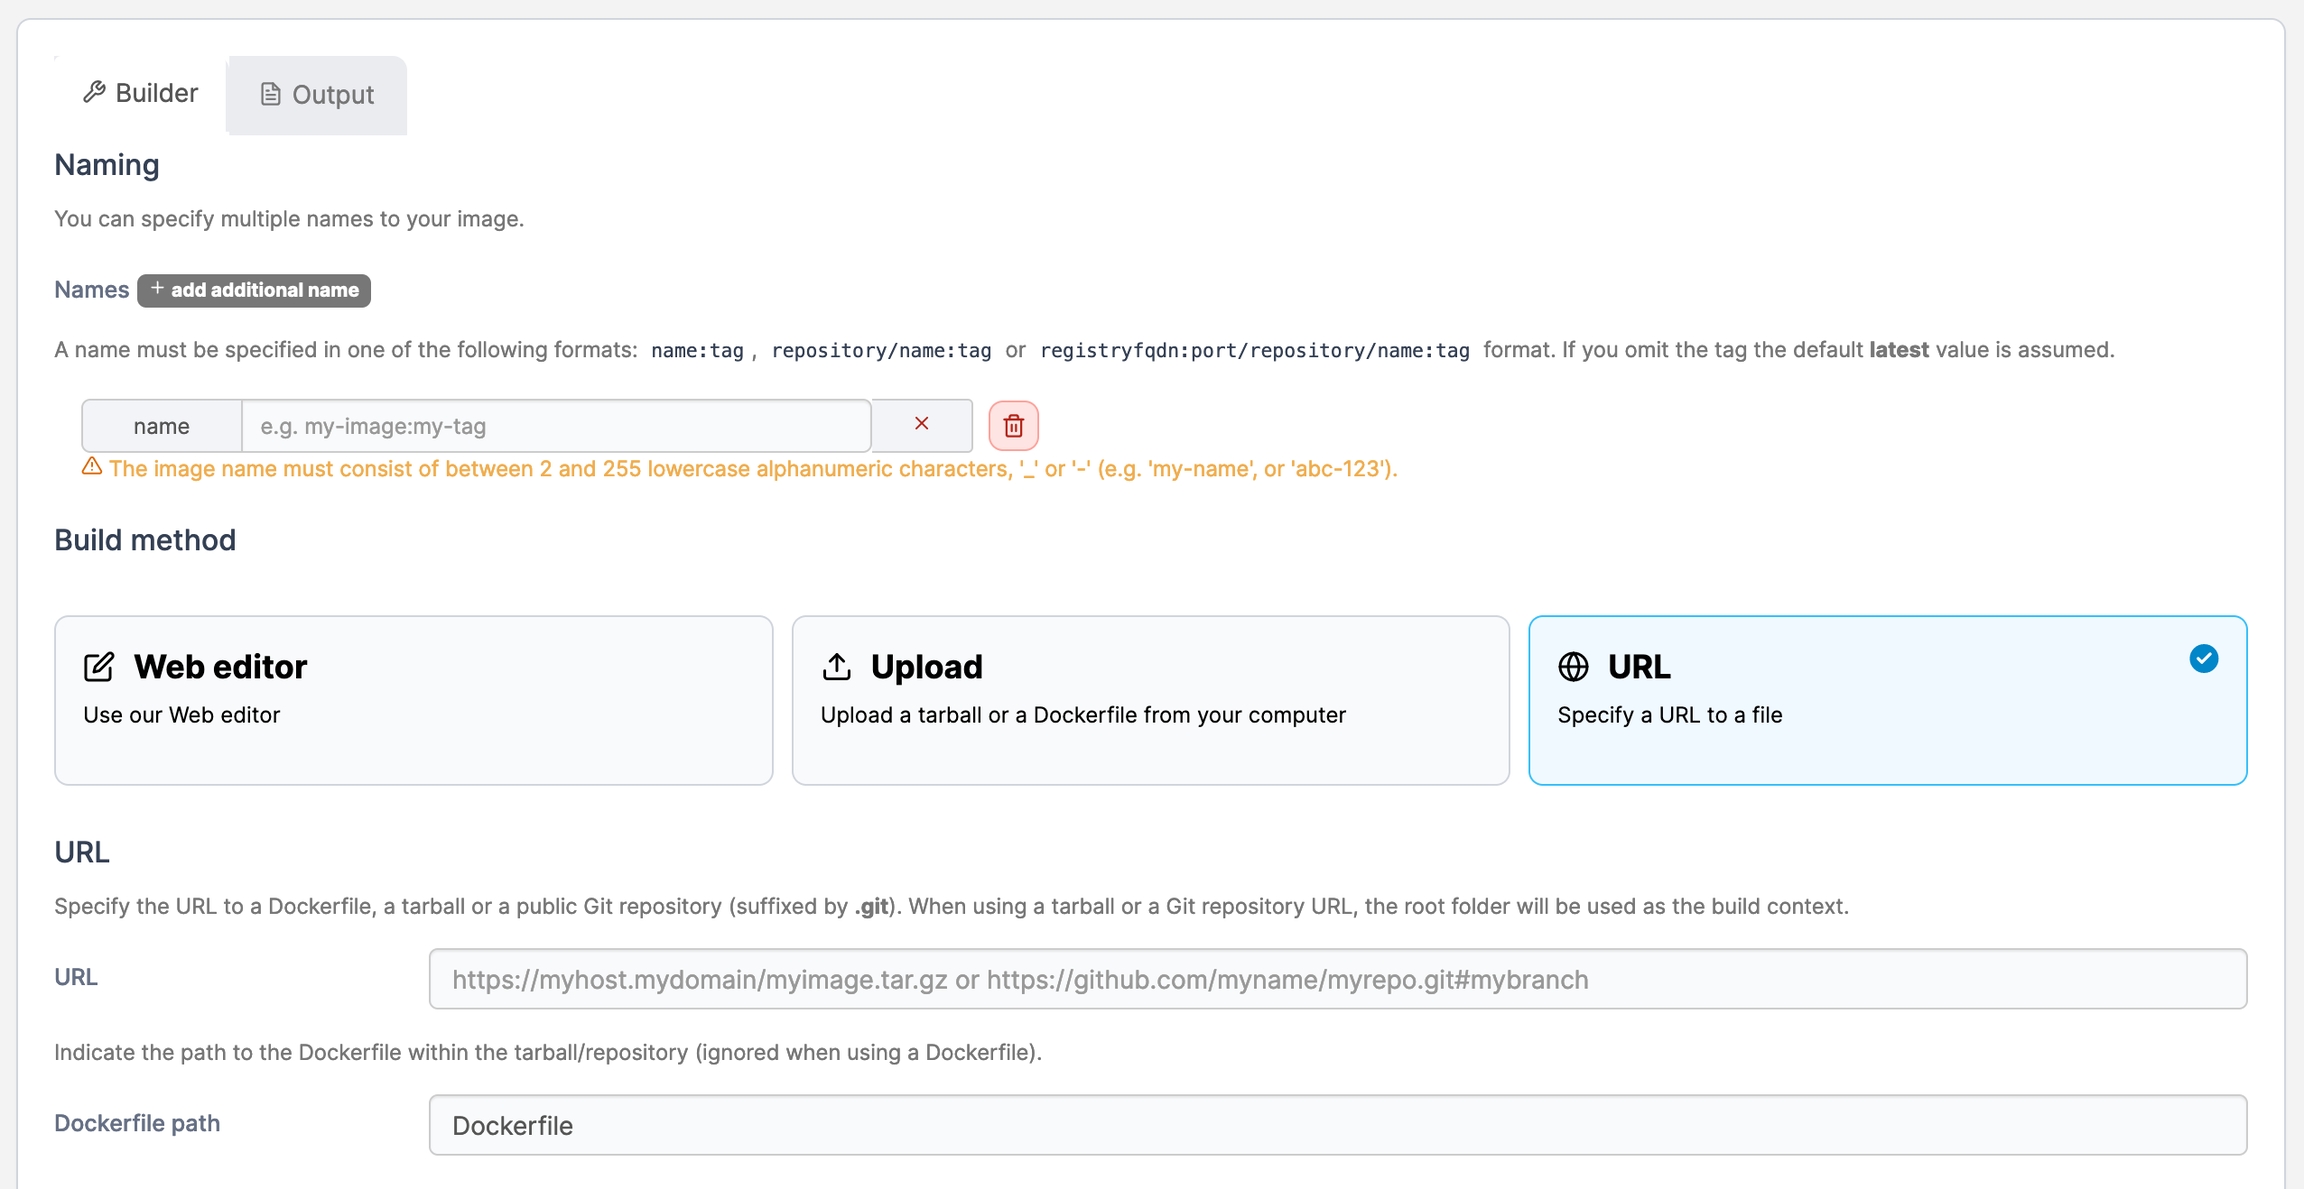
Method 3: Providing a Dockerfile from a URL
If the Dockerfile is hosted on the Internet (either in a tarball or a public GitHub repository), you can download it directly to Portainer via its URL.
From the menu select Images then click Build a new image.
Next, give the image a descriptive name (you can enter multiple names), select the Upload option under Build method, then enter the URL of the file and the Dockerfile path within the tarball or repository.
Scroll down and select the node you want to save the image on (if on a multi-node environment) click Build the image.
When the build is finished, select the Output tab to view the build history and the result.
Was this helpful?