Portainer Documentation
Official WebsiteKnowledge BasePricingGet 3 Nodes of BE Free
2.21 LTS
2.21 LTS
  • Welcome
  • What's new in version 2.21
  • Release Notes
  • Getting Started
    • Introduction
    • Portainer architecture
    • Lifecycle policy
    • Requirements and prerequisites
    • Install Portainer BE
      • Set up a new Portainer BE Server installation
        • Docker Standalone
          • Install Portainer BE with Docker on Linux
          • Install Portainer BE with Docker on WSL / Docker Desktop
          • Install Portainer BE with Docker on Windows Container Service
        • Docker Swarm
          • Install Portainer BE with Docker Swarm on Linux
          • Install Portainer BE with Docker Swarm on WSL / Docker Desktop
          • Install Portainer BE with Docker Swarm on Windows Container Service
        • Kubernetes
          • Install Portainer BE on your Kubernetes environment
          • Install Portainer BE with Kubernetes on WSL / Docker Desktop
        • Initial setup
    • Install Portainer CE
      • Set up a new Portainer CE Server installation
        • Docker Standalone
          • Install Portainer CE with Docker on Linux
          • Install Portainer CE with Docker on WSL / Docker Desktop
          • Install Portainer CE with Docker on Windows Container Service
        • Docker Swarm
          • Install Portainer CE with Docker Swarm on Linux
          • Install Portainer CE with Docker Swarm on WSL / Docker Desktop
          • Install Portainer CE with Docker Swarm on Windows Container Service
        • Kubernetes
          • Install Portainer CE on your Kubernetes environment
          • Install Portainer CE with Kubernetes on WSL / Docker Desktop
        • Initial setup
    • Add an environment to an existing installation
    • Updating Portainer
      • Updating on Docker Standalone
      • Updating on Docker Swarm
      • Updating on Kubernetes
      • Updating on Nomad
      • Updating the Edge Agent
      • Updating from Portainer 1.x
      • Switching to Portainer Business Edition
        • Upgrade to Business Edition from within Portainer Community Edition
        • Docker Standalone
        • Docker Swarm
        • Kubernetes
        • Upgrading Agent-only deployments
  • Using Portainer
    • Home
      • Snapshot browsing
      • OpenAMT
    • Docker/Swarm
      • Dashboard
      • Templates
        • Application
        • Custom templates
        • Deploy a stack
        • Deploy a container
      • Stacks
        • Add a new stack
        • Inspect or edit a stack
        • Create a template from a deployed stack
        • Webhooks
        • Migrate or duplicate a stack
        • Remove a stack
      • Services
        • Add a new service
        • Configure service options
        • Scale a service
        • View the status of a service task
        • View service logs
        • Roll back a service
        • Webhooks
      • Containers
        • Add a new container
        • View a container's details
        • Inspect a container
        • Edit or duplicate a container
        • Advanced container settings
        • Webhooks
        • Attach a volume to a container
        • View container logs
        • View container statistics
        • Access a container's console
        • Change container ownership
        • Remove a container
      • Images
        • Pull an image
        • Build a new image
        • Import an image
        • Export an image
      • Networks
        • Add a new network
        • Remove a network
      • Volumes
        • Add a new volume
        • Browse a volume
        • Remove a volume
      • Configs
        • Add a new config
        • Remove a config
      • Secrets
        • Add a new secret
        • Remove a secret
      • Events
      • Host
        • Details
        • Setup
        • Registries
      • Swarm
        • Details
        • Cluster visualizer
        • Setup
        • Registries
    • Kubernetes
      • Dashboard
      • kubectl shell
      • Kubeconfig
      • Custom Templates
        • Add a new custom template
        • Edit a custom template
        • Remove a custom template
      • Namespaces
        • Add a new namespace
        • Manage a namespace
        • Manage access to a namespace
        • Remove a namespace
      • Helm
      • Applications
        • Add a new application using a form
        • Add a new application using a manifest
        • Inspect an application
        • Inspect a Helm application
        • Edit an application
        • Webhooks
        • Detach a volume from an application
        • Remove an application
      • Networking
        • Services
        • Ingresses
          • Add an Ingress manually
          • Add an Ingress using a manifest
          • Remove an Ingress
      • ConfigMaps & Secrets
        • Add a ConfigMap
        • Add a Secret
      • Volumes
        • Inspect a volume
        • Remove a volume
      • More Resources
        • Service Accounts
        • Cluster Roles
        • Roles
      • Cluster
        • Details
        • Inspect a node
        • Setup
        • Security constraints
        • Registries
    • Azure ACI
      • Dashboard
      • Container instances
        • Add a new container
        • Remove a container
    • Nomad
    • Edge Compute
      • Edge Groups
      • Edge Stacks
        • Add a new Edge Stack
      • Edge Jobs
      • Edge Configurations
      • Waiting Room
      • Edge Templates
        • Application
        • Custom
    • Account settings
  • Administering Portainer
    • User-related
      • Users
      • Add a new user
      • Turn a user into an administrator
      • Reset a user's password
      • Teams
        • Add a new team
        • Add a user to a team
      • Roles
    • Environment-related
      • Environments
      • Add a new environment
        • Add a local environment
        • Add a Docker Standalone environment
          • Install Portainer Agent on Docker Standalone
          • Connect to the Docker API
          • Connect to the Docker Socket
          • Install Edge Agent Standard on Docker Standalone
          • Install Edge Agent Async on Docker Standalone
        • Add a Docker Swarm environment
          • Install Portainer Agent on Docker Swarm
          • Connect to the Docker API
          • Connect to the Docker Socket
          • Install Edge Agent Standard on Docker Swarm
          • Install Edge Agent Async on Docker Swarm
        • Add a Kubernetes environment
          • Install Portainer Agent on your Kubernetes environment
          • Install Edge Agent Standard on Kubernetes
          • Install Edge Agent Async on Kubernetes
          • Import an existing Kubernetes environment
        • Add an ACI environment
        • Add a Nomad environment
        • Provision KaaS Cluster
          • Civo
          • Akamai Connected Cloud
          • DigitalOcean
          • Google Cloud
          • AWS
          • Azure
        • Create a Kubernetes cluster
          • MicroK8s
            • Offline installation
        • Add an environment via the Portainer API
      • Auto onboarding
      • Groups
      • Tags
      • Manage access to environments
      • Manage access to environment groups
      • Update & Rollback
    • Registries
      • Add a new registry
        • Add a DockerHub account
        • Add an AWS ECR registry
        • Add a Quay.io registry
        • Add a ProGet registry
        • Add an Azure registry
        • Add a Gitlab registry
        • Add a GitHub registry
        • Add a custom registry
      • Browse a registry
      • Manage a registry
    • Licenses
    • Logs
      • Authentication
      • Activity
    • Notifications
    • Settings
      • General
      • Authentication
        • Authenticate via LDAP
        • Authenticate via Active Directory
        • Authenticate via OAuth
      • Shared credentials
        • Add Civo credentials
        • Add Akamai Connected Cloud credentials
        • Add DigitalOcean credentials
        • Add Google Cloud credentials
        • Add AWS credentials
        • Add Azure credentials
        • Add SSH credentials
      • Edge Compute
  • Frequently Asked Questions
    • Portainer Concepts
    • Installing
    • Upgrading
    • Troubleshooting
    • Contributing
  • Advanced Topics
    • CLI configuration options
    • App templates
      • Build and host your own app templates
      • App template JSON format
    • The Portainer Edge Agent
    • Access control
    • Reset the admin user's password
    • Security and compliance
    • Encrypting the Portainer database
    • Using your own SSL certificate with Portainer
    • Using mTLS with Portainer
    • Stream auth and activity logs to an external provider
    • Using Portainer with reverse proxies
      • Deploying Portainer behind Traefik Proxy
      • Deploying Portainer behind nginx reverse proxy
    • How Relative Path Support works in Portainer
    • Helm chart configuration options
    • Docker roles and permissions
    • Kubernetes roles and bindings
    • Deprecated and removed features
  • API
    • Accessing the Portainer API
    • API documentation
    • API usage examples
  • Get More Help
    • Knowledge Base
    • Portainer Academy
    • YouTube
    • GitHub
    • Slack
    • Discord
    • Open a support request
  • Contribute to Portainer
    • Contribute
    • Build instructions
      • Set up a macOS build environment
      • Set up a Linux build environment
Powered by GitBook
On this page

Was this helpful?

Edit on GitHub
  1. Administering Portainer
  2. Environment-related
  3. Add a new environment
  4. Add a Kubernetes environment

Install Portainer Agent on your Kubernetes environment

PreviousAdd a Kubernetes environmentNextInstall Edge Agent Standard on Kubernetes

Was this helpful?

Portainer consists of two elements, the Portainer Server and the Portainer Agent. Both elements run as lightweight containers on Kubernetes. This document will outline how to install the Portainer Agent on your cluster and how to connect to it from your Portainer Server instance. If you do not have a working Portainer Server instance yet, please refer to the first.

In addition to the generic requirements for Kubernetes environments, you will need:

  • Access to run kubectl commands on your cluster.

  • Cluster Admin rights on your Kubernetes cluster. This is so Portainer can create the necessary ServiceAccount and ClusterRoleBinding for it to access the Kubernetes cluster.

The installation instructions also make the following additional assumption about your environment:

  • If you have (by specifying an AGENT_SECRET environment variable when starting the Portainer Server container), you will need to provide that same secret to your agent in the same way (as an environment variable) by adding it to the YAML file within the agent deployment definition:

    env:

    - name: AGENT_SECRET

    value: yoursecret

To deploy Portainer Agent within a Kubernetes cluster you can use our provided YAML manifests.

Helm charts for agent-only deployments will be available soon.

From the menu expand Environment-related, click Environments, then click Add environment.

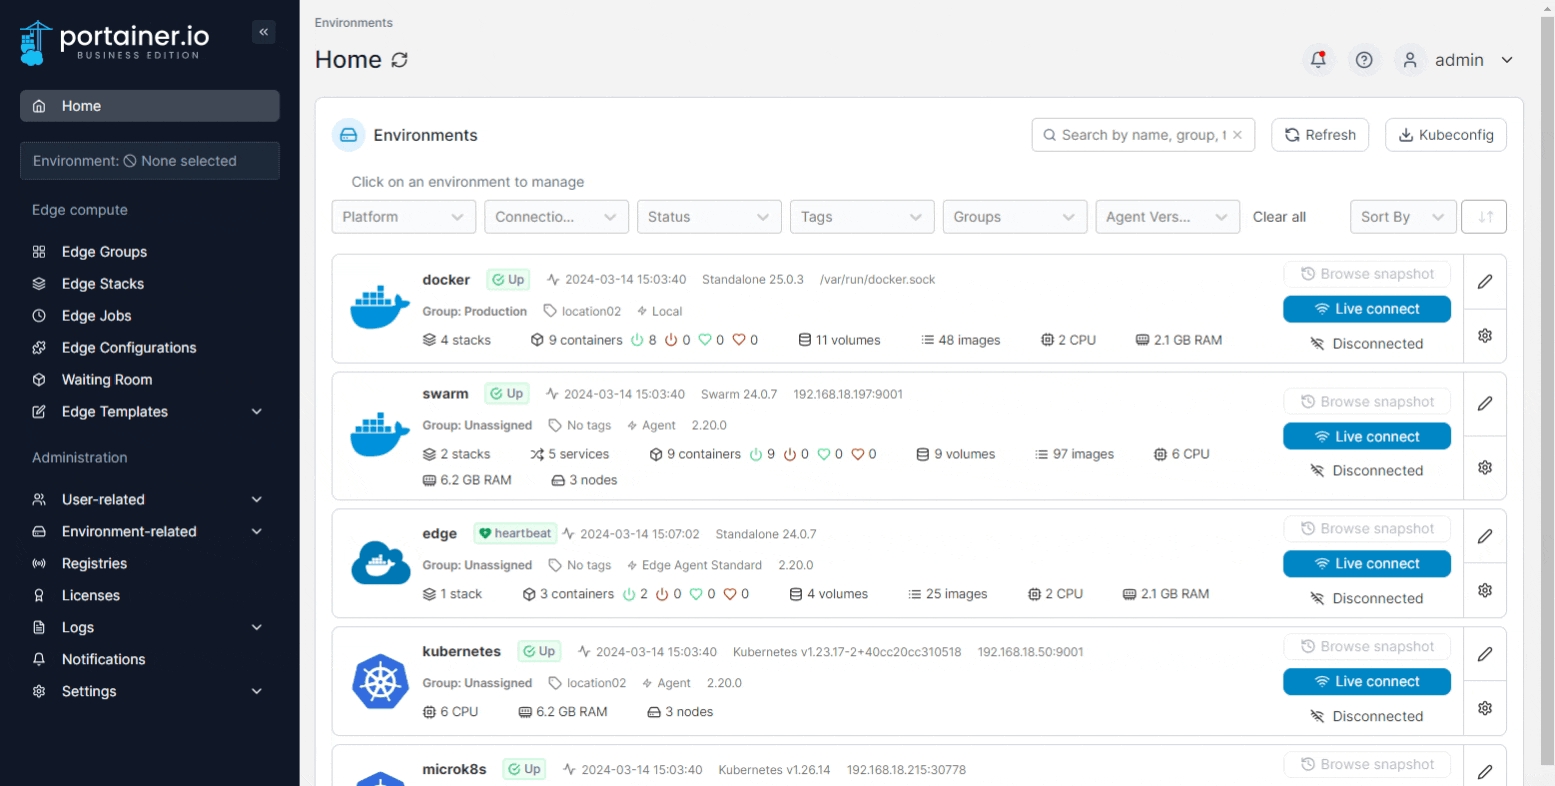
Select the Kubernetes option and click Start Wizard. Select the Agent option and choose the tab that matches your configuration (Kubernetes via load balancer or Kubernetes via node port). Copy the command, then run it on the control node of your Kubernetes cluster.

Make sure you run this command on your Kubernetes node before continuing.

The deployment command will return something similar to this:

namespace/portainer created
serviceaccount/portainer-sa-clusteradmin created
clusterrolebinding.rbac.authorization.k8s.io/portainer-crb-clusteradmin created
service/portainer-agent created
service/portainer-agent-headless created
deployment.apps/portainer-agent created

To validate that the agent is running, use this command:

 kubectl get pods --namespace=portainer

The result should look something like this:

NAME                               READY   STATUS    RESTARTS   AGE
portainer-agent-5988b5d966-bvm9m   1/1     Running   0          15m

Regardless of the method used, once the agent is running on the Kubernetes host, you must complete the appropriate environmental details.

Only do this once for your environment, regardless of how many nodes are in the cluster. You do not need to add each node as an individual environment in Portainer. Adding just one node will allow Portainer to manage the entire cluster.

Field/Option
Overview

Name

Give the environment a descriptive name.

Environment address

Define the IP address or name used to connect to the environment (the Kubernetes host) and specify the port if required (30778 when using NodePort; 9001 when using Load Balancer).

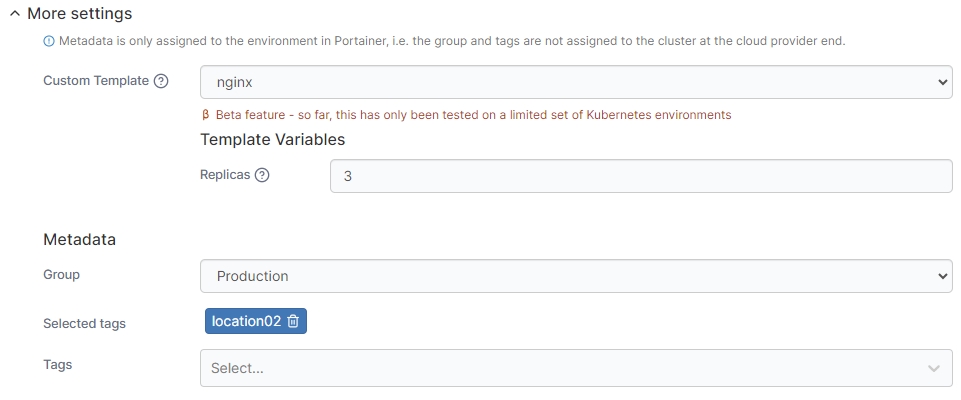
As an optional step you can expand the More settings section to customize the deployment further.

Field/Option
Overview

Custom Template

Select a custom template to deploy on your cluster. This is handy for pre-loading a new environment with your applications. The template will be deployed in the default namespace unless the template specifies a namespace to use. You can also set any variables the template requires.

Group

Tags

When you're ready, click Connect. If you have other environments to configure click Next to proceed, otherwise click Close to return to the list of environments.

Select a to add the new environment to once provisioning completes.

Select any to add to the environment.

group
tags
Portainer Server installation guide