MicroK8s
Introduction
Portainer consists of two elements, the Portainer Server and the Portainer Agent. Both elements run as lightweight containers on Kubernetes. This document will outline how to connect Portainer to your existing infrastructure to deploy MicroK8s and install the Portainer Agent. If you do not have a working Portainer Server instance yet, please refer to the Portainer Server installation guide first.
Prerequisites
In order to connect to and deploy MicroK8s and the Portainer Agent on your existing infrastructure, you will need:
One or more Linux-based machines on which MicroK8s will be deployed. We have primarily tested on Ubuntu 20.04 LTS but most comparable Linux distributions should work. These machines can be bare metal servers or virtual machines.
Root or passwordless sudo SSH access to the above machines on port
22. This is needed in order to install MicroK8s. Portainer supports both password-based and key-based authentication.The
snaptool installed on the above machines. You can find installation instructions for most Linux distributions at the Snapcraft website. Thesnaptool is used to install MicroK8s and any selected addons.Communication between the Portainer Server and the above machines, as well as communication between the individual machines in the cluster. This is to ensure the Portainer Server can reach the machines both for the initial installation and for communication with the Portainer Agent once the cluster is up and running, and so that the cluster nodes can communicate with each other.
For the standard installation, internet access (specifically to Docker Hub and registry.k8s.io) from the machines where MicroK8s will be deployed. If internet access is not available you can perform an offline installation, though there are some prerequisite steps that must be completed. In addition, operating offline may affect enabling of some addons.
What to expect
By necessity, our MicroK8s deployment makes some configuration decisions for you.
The Portainer Agent is deployed using NodePort, on port
30778.There may be some configuration differences between versions of MicroK8s deployed. One notable difference is from version 1.25, if the
ingressaddon is installed an additional ingress namednginxis configured. This does not occur on version 1.24. We recommend referring to the MicroK8s release notes for further detail.The deployment does not configure any storage classes on your cluster (unless the
hostpath-storageaddon is installed, though this is not recommended for multiple node clusters). Due to the vast amount of potential storage class configurations, this is not something we currently provide automatically. We recommend configuring a storage class once provision completes.
Deployment
To create and deploy MicroK8s and the Portainer Agent to your machines, from the menu expand Environment-related, click Environments, then click Add environment.
Select Create a Kubernetes cluster and click Start wizard.
If you have not yet configured a set of SSH credentials, you will be asked to provide them now. If you already have a credential set configured, you can skip to cluster configuration.
Add SSH credentials
Fill in the fields based on the table below:
Credentials name
Enter a name for this credential set. This is how it will be listed in Portainer.
SSH username
Enter the username for your SSH account.
SSH password
Enter the password for your SSH account. You can leave this field blank if you intend to use SSH key authentication.
Use SSH key authentication
Enable this toggle to use SSH key authentication instead of password authentication.
SSH private key passphrase
If your SSH private key is encrypted, provide the passphrase here.
SSH private key
Paste your SSH private key in this field.
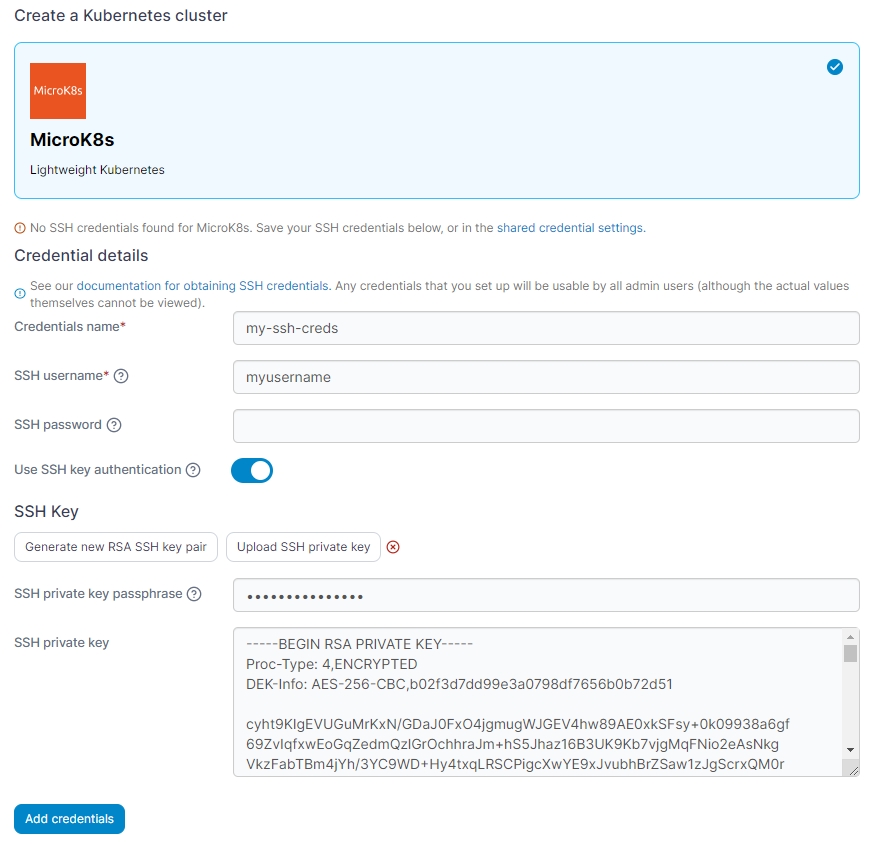
Once you have entered your credentials click Add credentials. The credential set will be saved under the name you entered, and you will be taken to the cluster configuration.
Configure your cluster
Once you have a set of credentials configured, you can proceed to configuring your cluster. Fill out the fields based on the table below:
Name
Enter a name for your environment. This is how the environment will appear in Portainer.
Credentials
Select the set of SSH credentials to use from the dropdown.
Control plane nodes
Enter a comma-separated or line-separated list of the IP addresses for the machines that will be the control plane nodes for your cluster. You can also specify a range of IP addresses with a hyphen.
Worker nodes
Enter a comma-separated or line-separated list of the IP addresses for the machines that will be the worker nodes for your cluster. You can also specify a range of IP addresses with a hyphen.
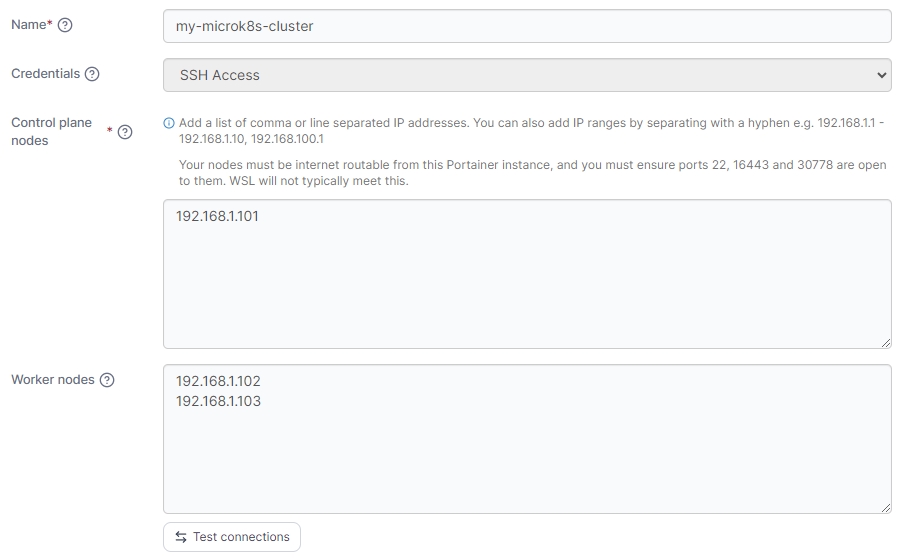
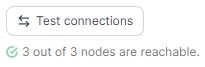
Once you have selected a credential set and entered the node IPs, you can click Test connections to ensure the credentials work for all the IP addresses and that they are reachable from the Portainer Server instance. If there are any issues connecting to the nodes they will be displayed.
You can now proceed to configuring MicroK8s itself. Fill out the fields based on the table below:
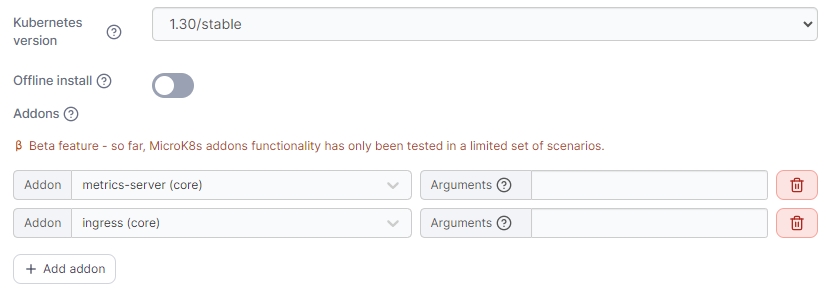
Kubernetes version
Select the version of MicroK8s to deploy on your cluster. This field is disabled if Offline install is enabled.
Offline install
Enable this toggle if you are performing an installation on an environment that has no internet access. You must complete pre-configuration of your nodes for offline installation.
Addons
Optionally click the Add addon button to select one or more addons to deploy alongside the MicroK8s installation. You can also specify any arguments needed for each addon. This is disabled if Offline install is enabled.
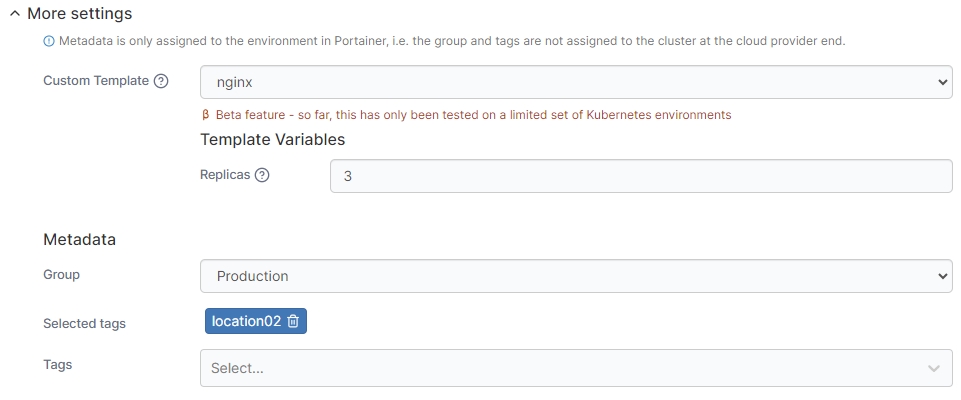
As an optional step you can expand the More settings section to customize the deployment further.
Custom Template
Select a custom template to deploy on your cluster once the MicroK8s and Portainer Agent installations are complete. This is handy for pre-loading a new environment with your applications. The template will be deployed in the default namespace unless the template specifies a namespace to use. You can also set any variables the template requires.
Group
Select a group to add the new environment to once provisioning completes.
Tags
Select any tags to add to the environment.
Once you have entered your cluster configuration details, click Provision environment to begin the provision. Portainer will start provisioning your cluster with the options you selected. If you have other environments to configure click Next to proceed, otherwise click Close to return to the list of environments.
Provision progress
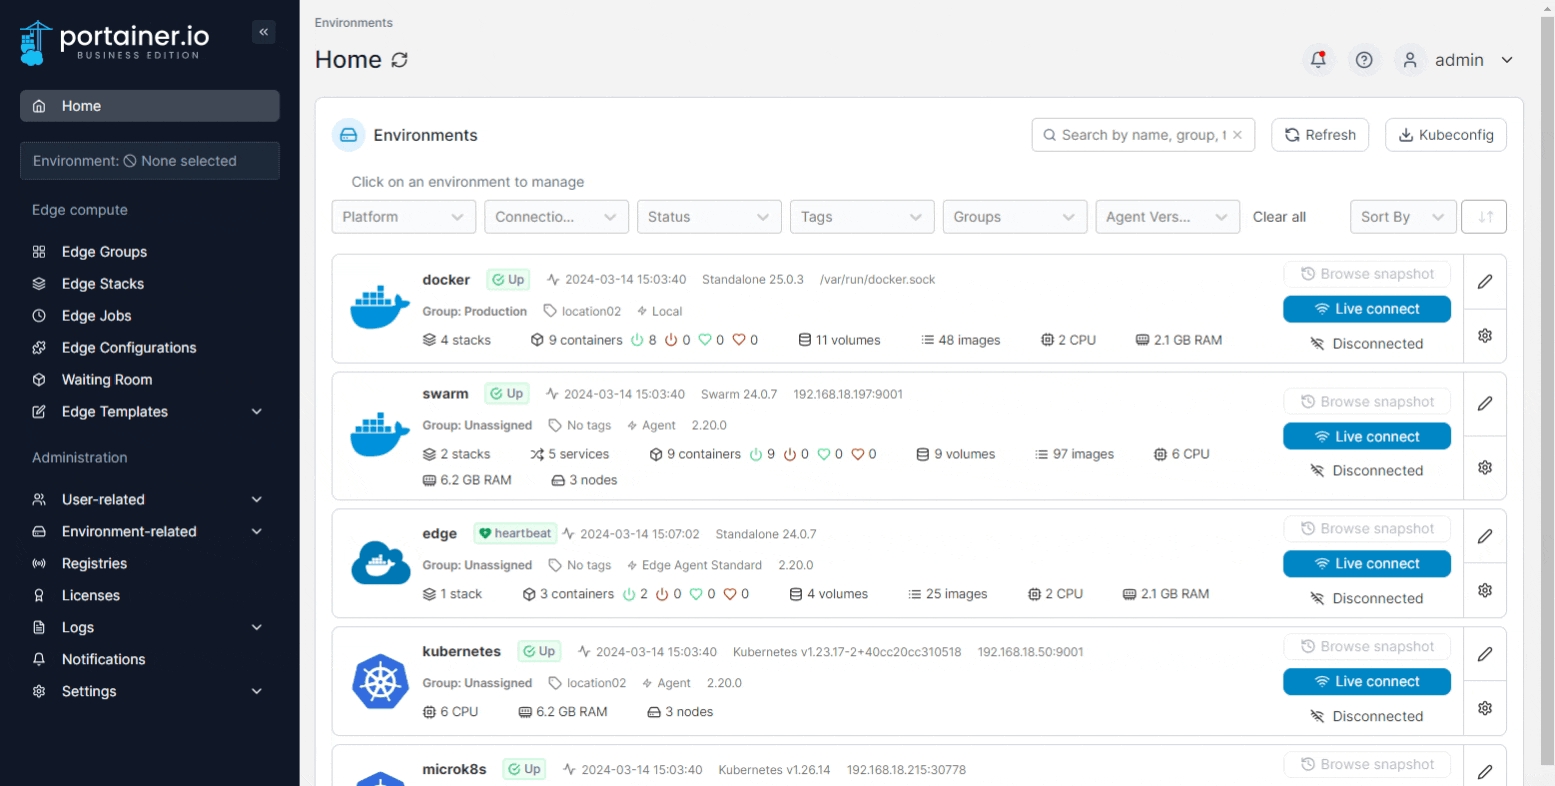
From the Environments page you will be able to see the progress of any running Kubernetes environment provisions. The status will be updated as the provision completes, and if the provision runs into problems an error will be displayed here. You can hover over the status or error for additional detail.

Once the provision completes, you will be able to access the environment as you would any other Portainer-configured environment.
Last updated
Was this helpful?