Authenticate via LDAP
Introduction
Portainer can be configured to accept Lightweight Directory Access Protocol (LDAP) authentication if your organization has implemented LDAP authentication. When users attempt to log into Portainer, the application will authenticate them against your LDAP directory. If authentication is successful, the user is allowed to log into Portainer.
To configure Portainer LDAP authentication, you first need to add a user to your directory service for the purpose of authenticating from Portainer to read the LDAP. The user should be a service account that needs read-only access to LDAP.
Enabling LDAP
Log into Portainer as an administrator. From the menu select Settings, select Authentication then select the LDAP Authentication option. Extra fields will appear, allowing you to configure LDAP.
Automatic user provisioning
Enabling this setting automatically creates users within Portainer once they are successfully authenticated by LDAP. If you do not enable this, you must manually create users with the same username as the corresponding LDAP directory.

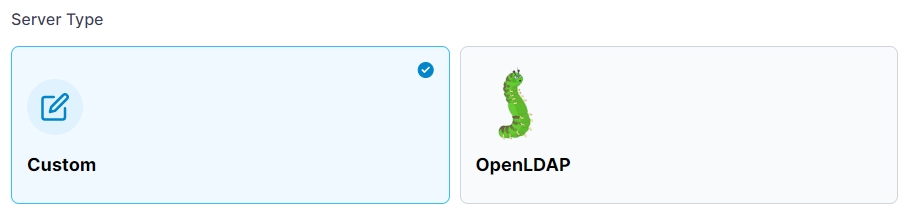
Server Type
Here you can select a custom configuration or a preconfigured OpenLDAP template.
LDAP configuration
Enter the IP address/FQDN and port number of your LDAP server. Opt to either connect anonymously (your LDAP server must support this) or enter a user account that has READ access to the directory. Click Test connectivity to validate that you can connect.
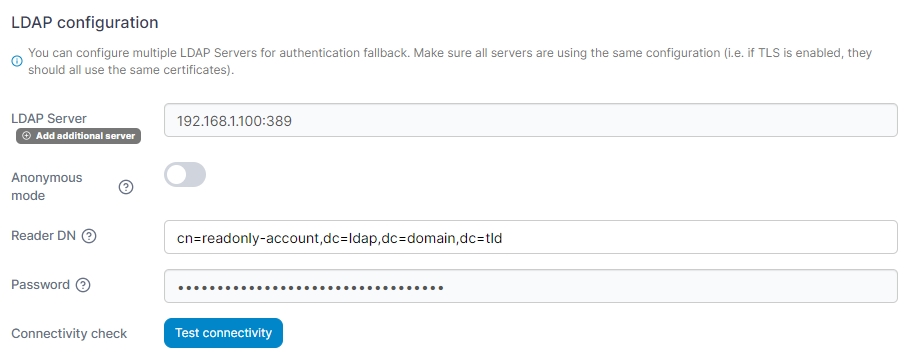
If you want to add additional LDAP servers to provide for authentication fallback, click Add additional server and fill in the server details.
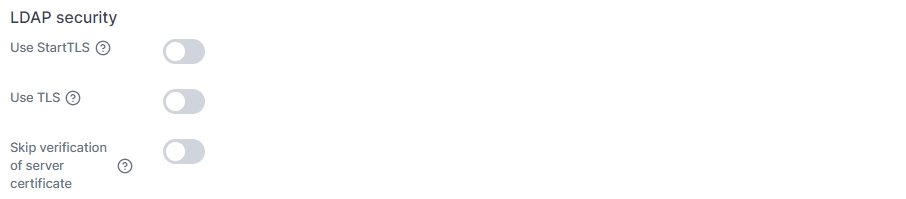
LDAP security
Configure the remaining LDAP settings, using the table below as a guide:
Use StartTLS
Changes the insecure connection to secure after the initial connection.
Use TLS
Initiates a connection to LDAP using TLS.
Skip verification of server certificate
If you do not have access to the LDAP server certificate, skipping verification will enable encrypted communications. However, you must manually ensure that you are talking to the intended LDAP server that you specified in the URL. If that gets maliciously redirected, you could be talking to a different server. Use with caution.
TLS CA certificate
Lets you upload your CA certificate for the secure connection.
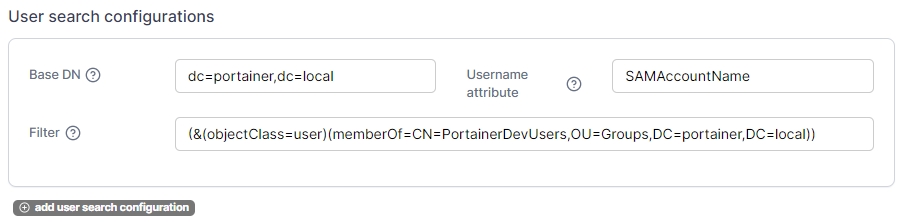
User-search configurations
BaseDN
Enter
dc=mydomain,dc=comto search your entire directory for the username attempting to login.Enter
ou=myou,dc=mydomain,dc=comto search for users only within the specified OU.Enter
cn=mycn,dc=mydomain,dc=comif your users are only in a container.
If you have a large number of users in your domain, narrow the scope Portainer searches on by using OUs.
Username attribute
For LDAP, enter uid unless your configuration differs.
Filter
Enter filter criteria for the results returned from LDAP to Portainer. For example, to only allow users who are members of a group defined within an OU to login, set Filter to the following (the brackets are important, so copy the entire string):
(&(objectClass=user)(memberOf=cn=mycn,ou=myou,dc=mydomain,dc=com))In the example below, the domain portainer.local has an OU called Groups and within that OU is a group called PortainerDevUsers. This search filter will only allow users who are members of the PortainerDevUsers LDAP group to log into Portainer.
As an optional step, click Add user search configuration to define additional user-search configurations.
Group-search configurations
In addition to user search, Portainer also gives you the option to set up group search. When configured, if an LDAP user is a member of an LDAP group, and that LDAP Group corresponds to an identically named Portainer Team, then the LDAP user will automatically be placed into the Portainer Team based on their LDAP group membership. This is very useful for automatically granting access to Portainer environments via group membership.
Group Base DN
Enter either:
Enter
dc=mydomain,dc=comto search your entire directory for the list of groups.Enter
ou=myou,dc=mydomain,dc=comto search for groups only within the specified OU.Enter
cn=mycn,dc=mydomain,dc=comif your groups are only in a container.
If you have a large number of groups in your domain, narrow the scope Portainer searches on by using OUs.
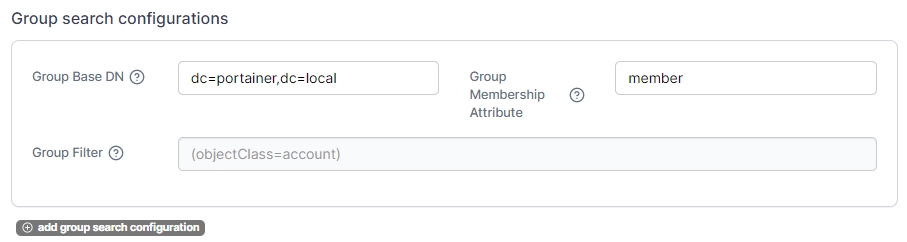
Group Membership Attribute
Enter member as the attribute that determines if a user is a member of a group.
Group Filter
If you want to filter the list of groups to return only those that contain the string Portainer (for example: PortainerDev, PortainerProd, PortainerUAT), set up the filter like this:
(&(objectclass=group)(cn=*Portainer*))
As an optional step, click Add group search configuration to define additional group-search configurations.
Auto-populate team admins
If desired, Portainer can configure specified LDAP groups of users to become Portainer administrators automatically.
To configure this, first click add group search configuration and define the Group Base DN, Groups and Group Filter as required. Once done, click the Fetch Admin Group(s) button to retrieve the list of groups matching your search configuration.
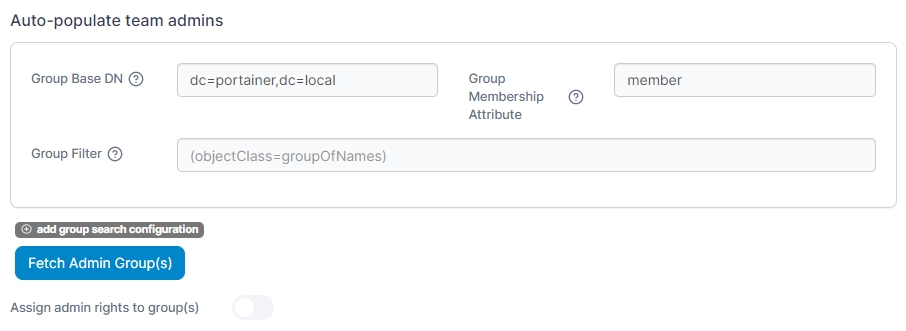
When you're happy with the group selection, enable this feature by toggling Assign admin rights to group(s) on.
Test login
To test your configuration, you can enter a username and password and click the Test button.

Manually creating LDAP users
Once LDAP has been enabled, from the menu select Users. Create a username that matches your LDAP source users with the format defined when you enabled LDAP (either username or [email protected]).
Was this helpful?