

Add a new stack
There are four ways to deploy a new stack from Portainer:
Use our web editor to define the services for the stack using a docker-compose format.
If you have a stack.yml file, you can upload it from your computer and use it to deploy the stack.
You can use a docker-compose format file hosted in a Git repository.
Custom template
If you have created a custom stack template, you can deploy using this option.
Option 1: Web editor
From the menu select Stacks, click Add stack, give the stack a descriptive name then select Web editor. Use the web editor to define the services.
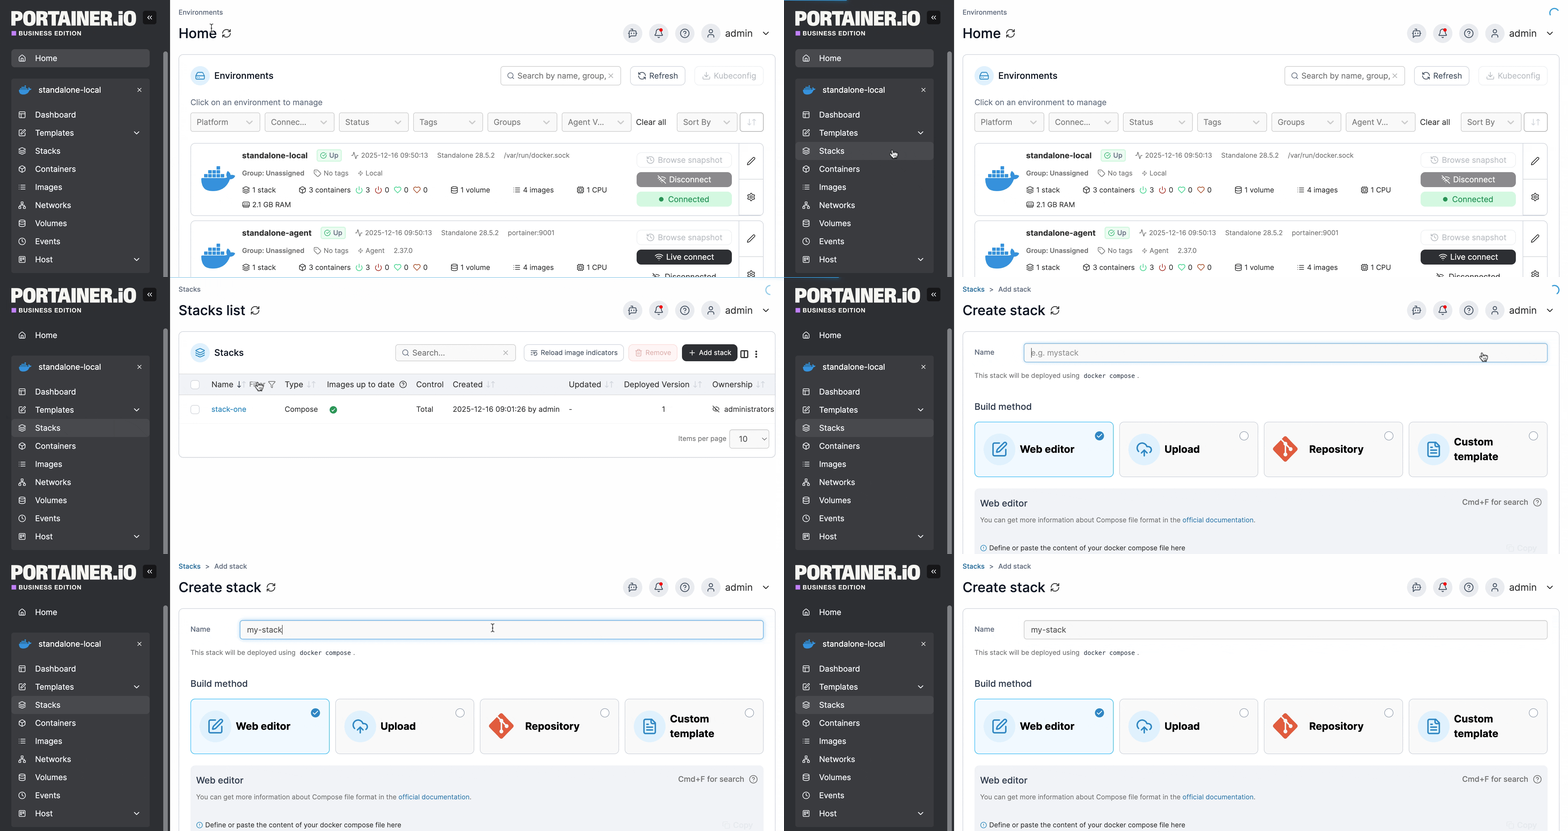
As part of the stack creation you can enable a stack webhook, allowing you to remotely trigger redeployments of the stack from your repository, for example. You can read more on this in our documentation on stack webhooks.

As an optional step, you can also use the web editor to define environment variables. You can use these to define values in your compose file that would vary between deployments (for example, hostnames, database names, etc).
Environment variables can be set individually within Portainer or you can use Load variables from .env file to upload a file containing your environment variables. Environment variables you define (either individually or via a .env file) will be available to use in your compose file using an environment definition:
Alternatively, on Docker Standalone and Podman environments you can add stack.env as an env_file definition to add all the environment variables that you have defined individually as well as those included in an uploaded .env file:
Note: Using env_file to define a file does not work in Docker Swarm due to the lack of env_file support in docker stack deploy (used on Swarm environments to deploy your stack). On Docker Swarm, you will need to define each environment variable manually.

You can also select the registries to use when deploying the stack. This is useful when your stack deploys multiple images from different registries that require authentication.
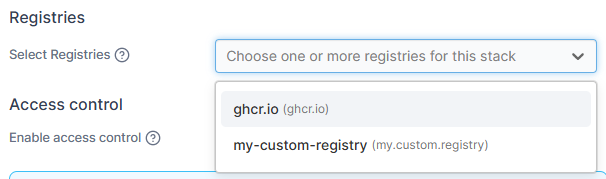
When you're ready, click Deploy the stack.
Option 2: Upload
In Portainer you can create stacks from Compose YML files. To do this, from the menu select Stacks, click Add stack, then give the stack a descriptive name.
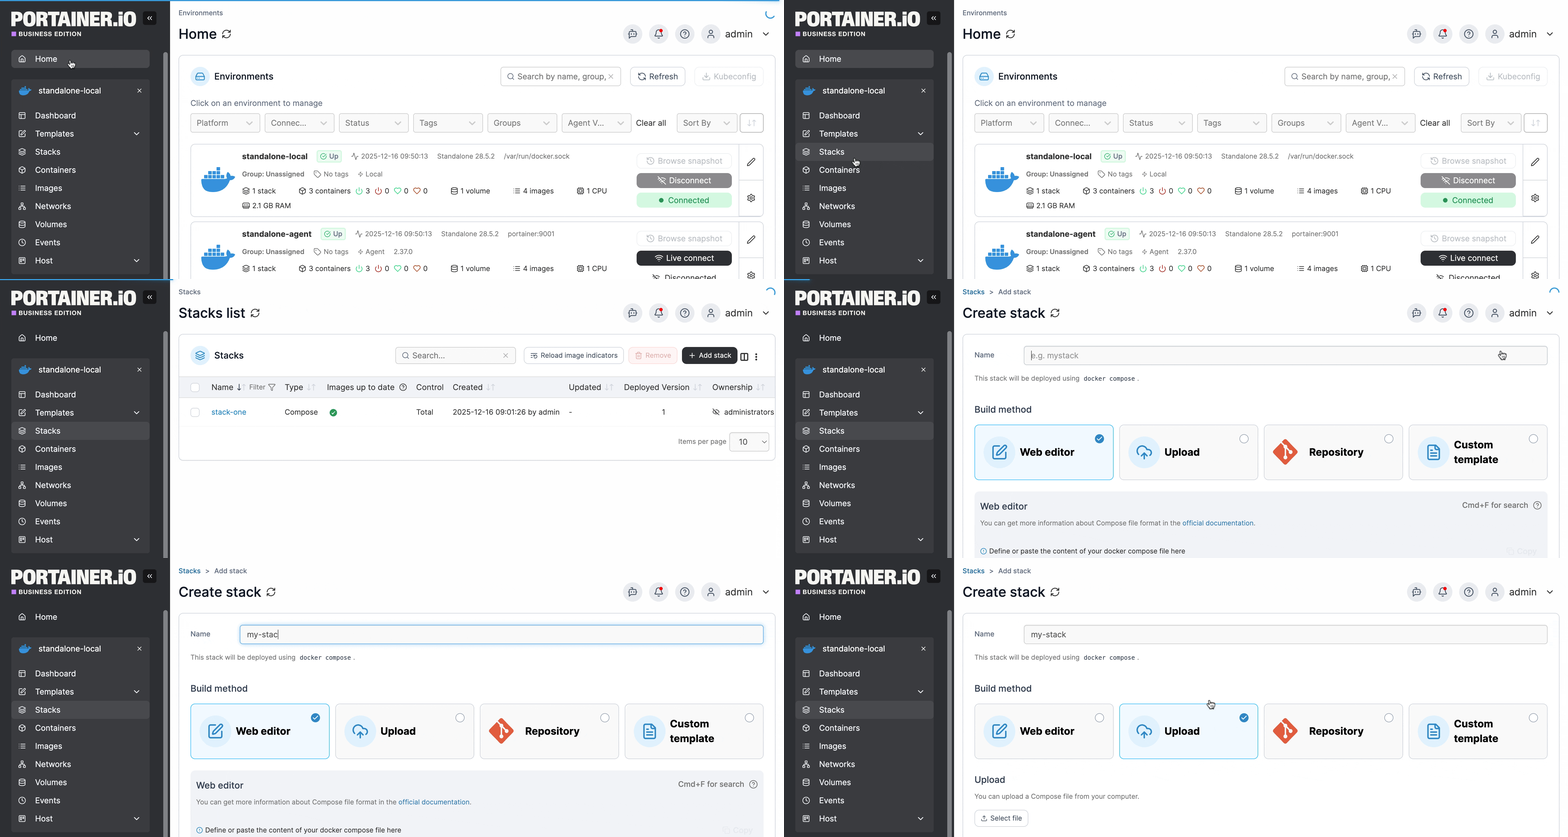
Select Upload then select the Compose file from your computer.
As part of the stack creation you can enable a stack webhook, allowing you to remotely trigger redeployments of the stack from your repository, for example. You can read more on this in our documentation on stack webhooks.
As an optional step, enter any environment variables. You can use these to define values in your compose file that would vary between deployments (for example, hostnames, database names, etc).
Environment variables can be set individually within Portainer or you can use Load variables from .env file to upload a file containing your environment variables. Environment variables you define (either individually or via a .env file) will be available to use in your compose file using an environment definition:
Alternatively, you can add stack.env as an env_file definition to add all the environment variables that you have defined individually as well as those included in an uploaded .env file:
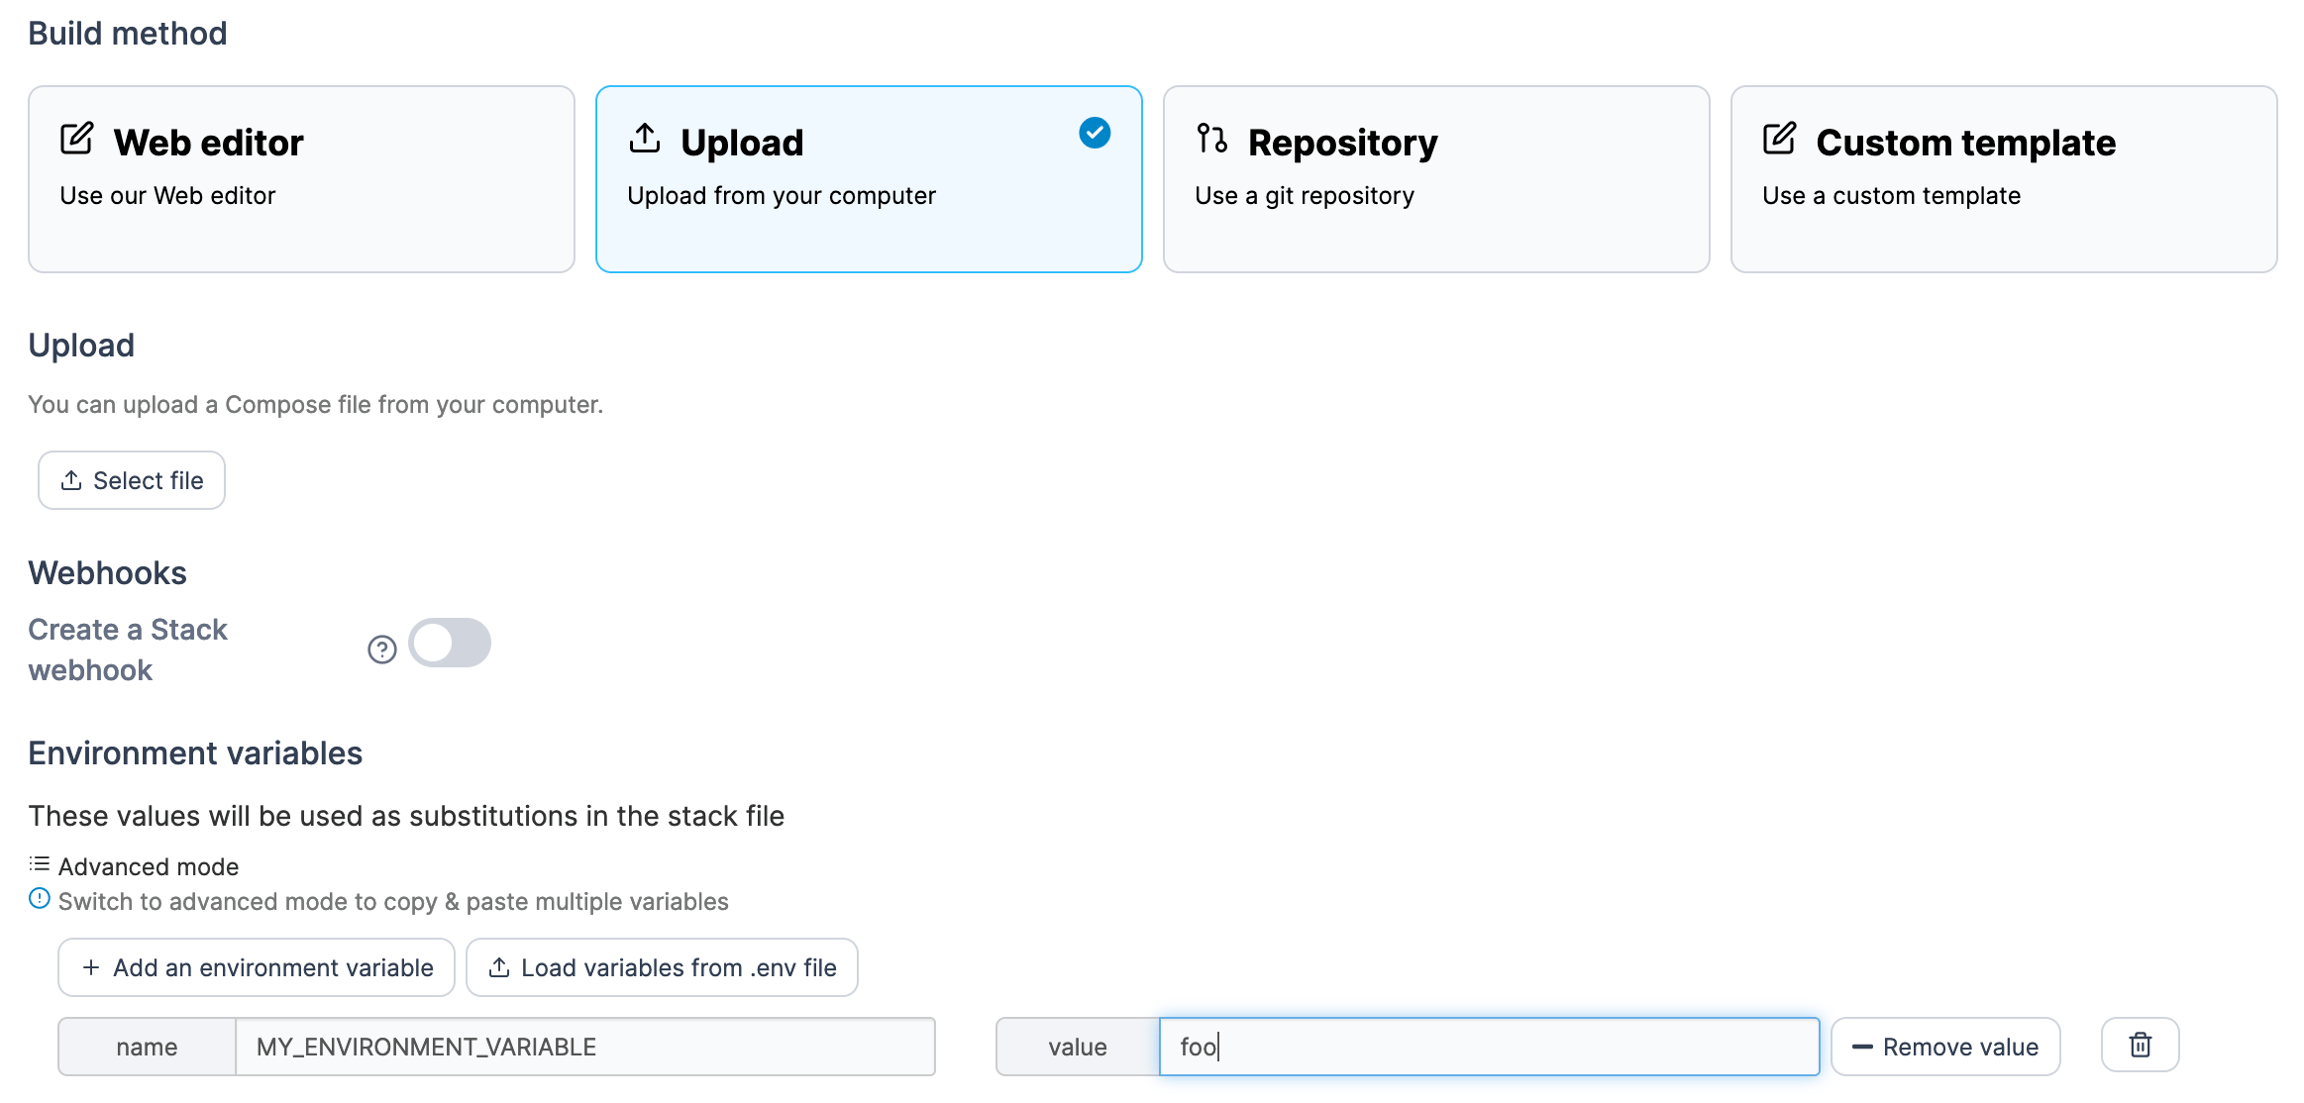
When you're ready click Deploy the stack.
Option 3: Git repository
If your Compose file is hosted in a Git repository, you can deploy from there. From the menu select Stacks, click Add stack, then give the stack a descriptive name.
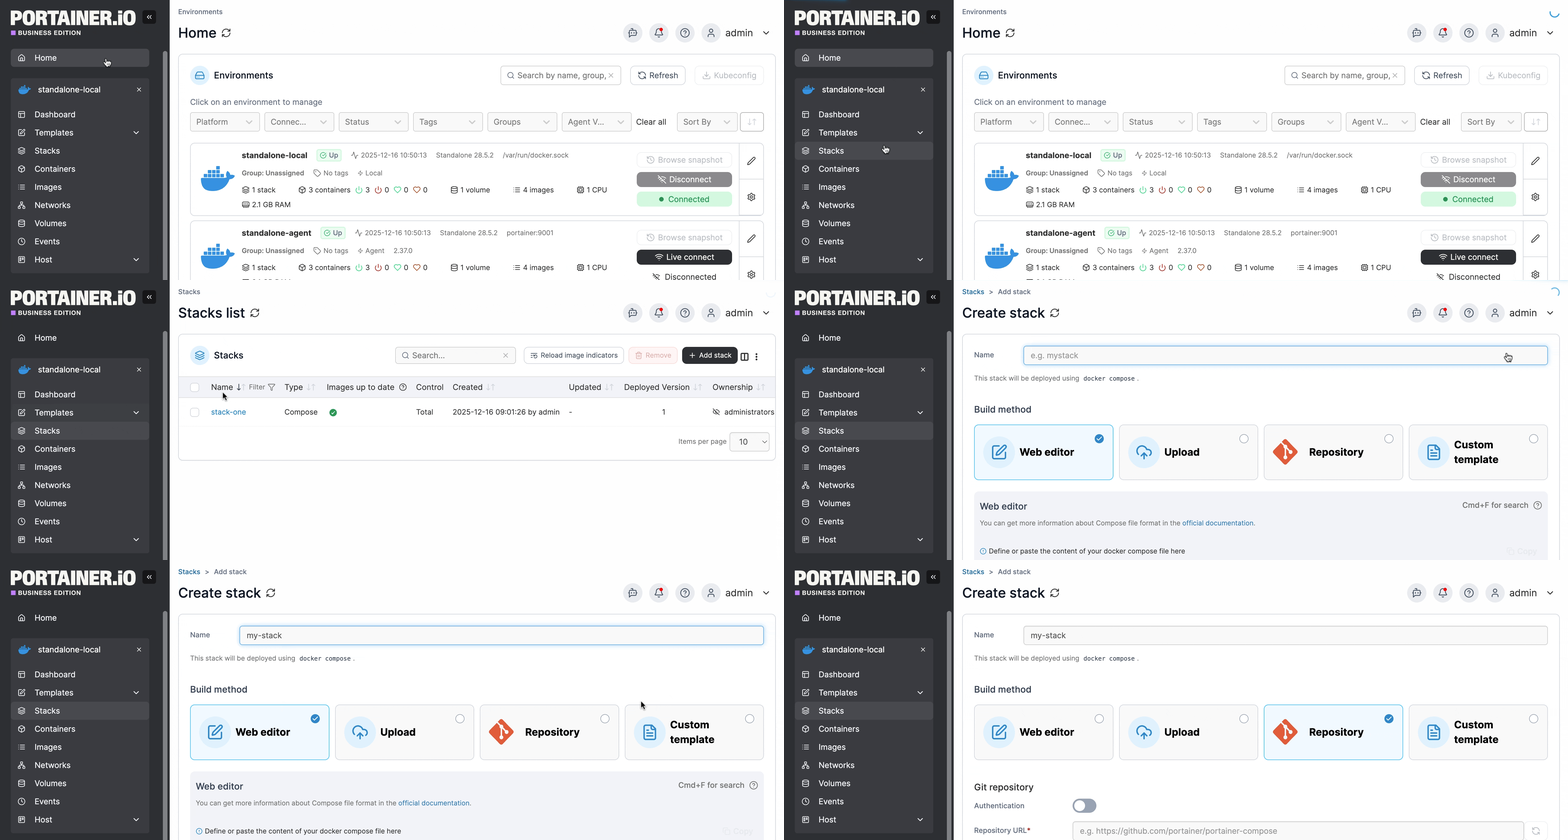
Select Git Repository then fill in the details of the repository.
Source
Select your Git repository from your list of preconfigured sources. Select Create new source to navigate to the source creation view.
Repository reference
Select the reference to use when deploying the stack (for example, the branch).
Compose path
Enter the path to the Compose file from the root of the repository.
Additional paths
Click Add file to add additional YAML files to be parsed by the build. This is the equivalent of passing multiple -f options to docker compose, and abides by the same merging rules.
GitOps updates
Toggle this on to enable GitOps updates (see below).
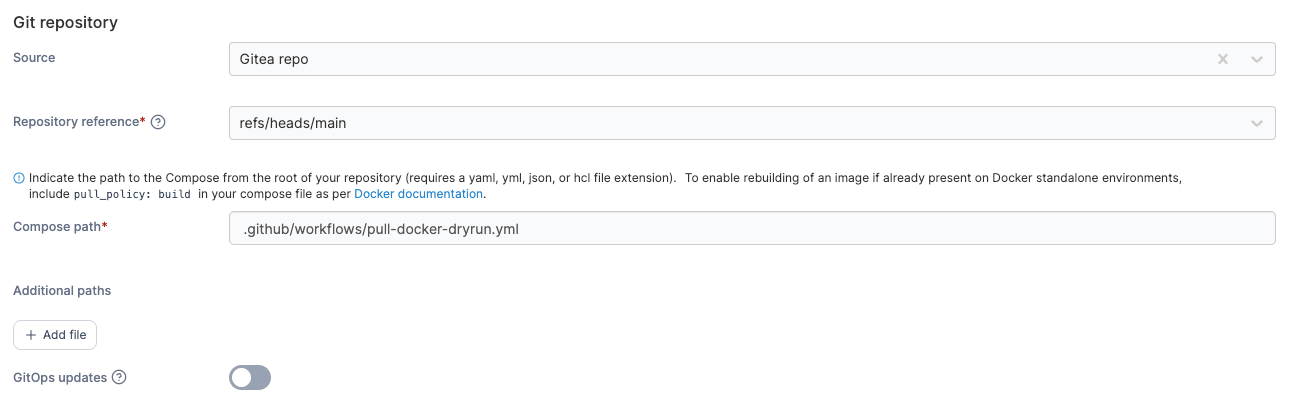
GitOps updates
Portainer supports automatically updating your stacks deployed from Git repositories. To enable this, toggle on GitOps updates and configure your settings.
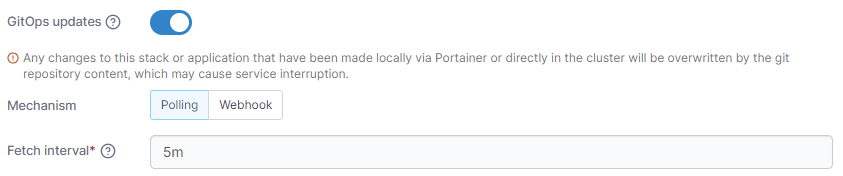
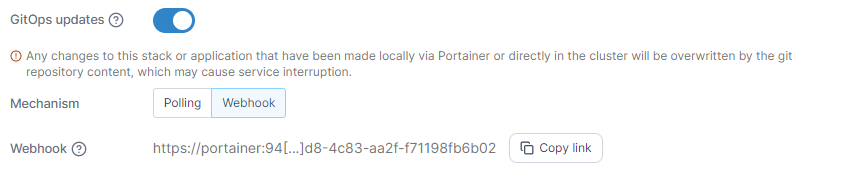
Mechanism
Select the method to use when checking for updates: Polling: Periodically poll the Git repository from Portainer to check for updates to the repository.
Webhook: Generate a webhook URL to add to your Git repository to trigger the update on demand (for example via GitHub actions).
Fetch interval
If Polling is selected, how often Portainer will check the Git repository for updates.
Webhook
When Webhook is selected, displays the webhook URL to use in your integration. Click Copy link to copy the webhook URL to the clipboard.
Re-pull image
Enable this setting to always pull the most recent version of container images when updating the stack. This is equivalent to the --pull=always flag for docker run.
This option was previously labeled as Pull latest image.
Force redeployment
Enable this setting to force the redeployment of your stack at the specified interval (or when the webhook is triggered), overwriting any changes that have been made in the local environment, even if there has been no update to the stack in Git. This is useful if you want to ensure that your Git repository is the source of truth for your stacks and are happy with the local stack being replaced.
If this option is left disabled, automatic updates will only trigger if Portainer detects a change in the remote Git repository.

Relative path volumes
When you toggle Enable relative path volumes to on, you are able to specify relative path references in your compose files. Portainer will create the required directory structure and populate the directories with the relevant files from your Git repository.
On Docker Standalone and Podman environments, specify the path at which you want your files to be created on your host filesystem in the Local filesystem path field.

On Docker Swarm environments, specify the path at which you want your files to be created in the Network filesystem path field.

Environment variables
As an optional step, you can also set environment variables. You can use these to define values in your compose file that would vary between deployments (for example, hostnames, database names, etc).
Environment variables can be set individually within Portainer or you can use Load variables from .env file to upload a file containing your environment variables. Environment variables you define (either individually or via a .env file) will be available to use in your compose file using an environment definition:
Alternatively, you can add stack.env as an env_file definition to add all the environment variables that you have defined individually as well as those included in an uploaded .env file:
Enter environment variables if required then click Deploy the stack.
Last updated
Was this helpful?