# Add a new custom template
## Creating the template
From the menu select **Custom Templates** then click **Add Custom Template**.
Complete the form, using the table below as a guide.
| Field/Option | Overview |
| ------------ | ------------------------------------------------------------------------------------------------ |
| Title | Enter a title for your custom template. This is how the template will appear when it's deployed. |
| Description | Enter a description of the template. |
| Note | As an optional step, record some extra information about the template. |
| Icon URL | Optionally, enter the URL to an image to use as an icon for the template. |
Next, select the **Build method**.
## Selecting the build method
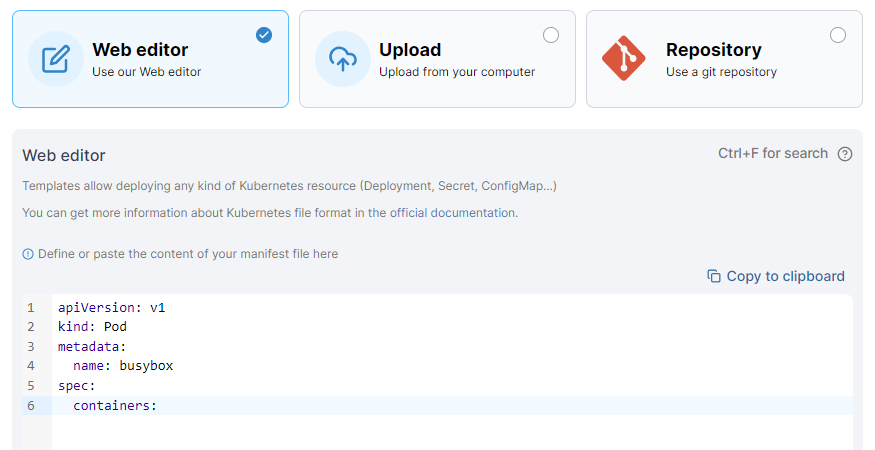
### Method 1: Web editor
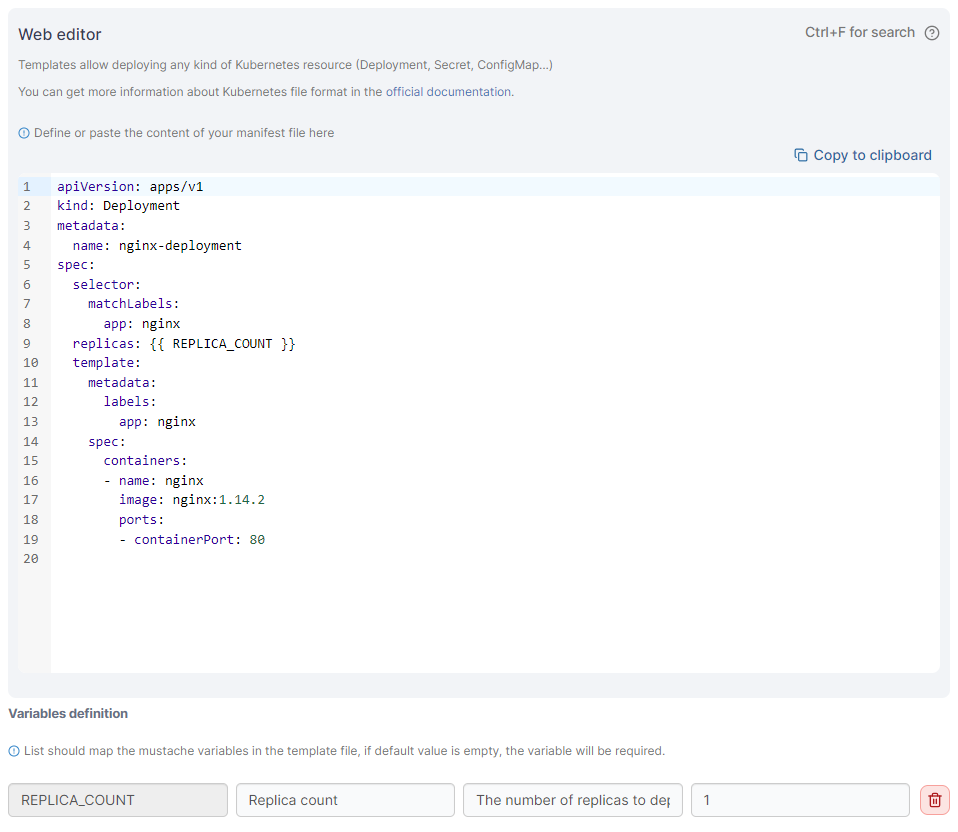
Define or paste the contents of your manifest file into the web editor. When deploying an application using a custom template you will be given an opportunity to edit the manifest before deployment.
{% hint style="info" %}
You can search within the web editor at any time by pressing `Ctrl-F` (or `Cmd-F` on Mac).
{% endhint %}
When you're ready, click **Create custom template**.
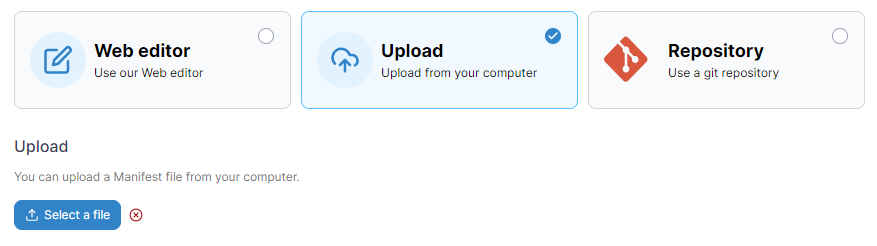
### Method 2: Upload
If you have a manifest file locally, you can upload it directly to Portainer. Click **Select file** to browse to the file.
When you're ready, click **Create custom template**.
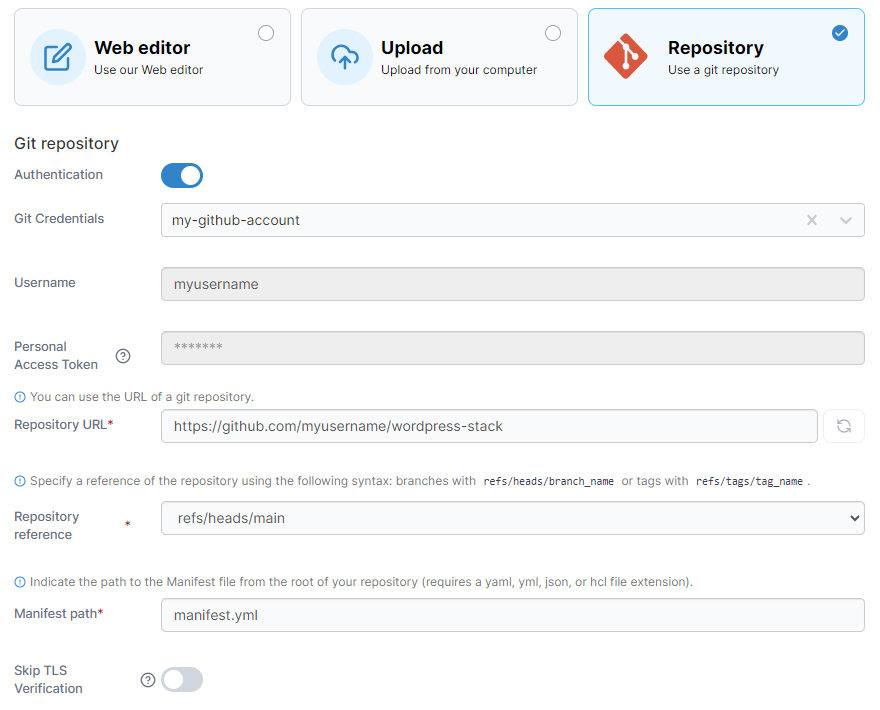
### Method 3: Repository
If you have a template in a Git repository, you can add it to your custom templates. Enter the required details for access to your Git repository.
| Field/Option | Overview |
| --------------------- | ----------------------------------------------------------------------------------------------------------------------------------------- |
| Authentication | Toggle this option on if your repository requires authentication. |
| Git credentials | If you have credentials configured you can select the set to use from this dropdown. |
| Username | Enter your Git username. |
| Personal access token | Enter your personal access token or password. |
| Repository URL | Enter the URL to your Git repository. |
| Repository reference | Select the reference to use from your repository. This will be auto populated with available references from your repository. |
| Manifest path | Enter the path and filename of the manifest within your repository. |
| Skip TLS Verification | Toggle this option on to skip TLS verification for the repository. This is useful if you are using self-signed certificates on your repo. |
When you're ready, click **Create custom template**.
## Variables in templates
Custom templates support the use of variables to provide further customization of the deployed stack. A stack can define a variable that can then be adjusted by the user at deployment.
{% hint style="info" %}
This feature is only available in Portainer Business Edition.
{% endhint %}
Variables are identified in stacks with `{{ }}`. For example, the following stack provides a `REPLICA_COUNT` variable:
When a variable is defined, options appear to customize how the variable appears when deploying the stack. You can set the **label**, **description** and **default value**.
When a template is deployed, any variables that have been configured are editable: